About These Lessons
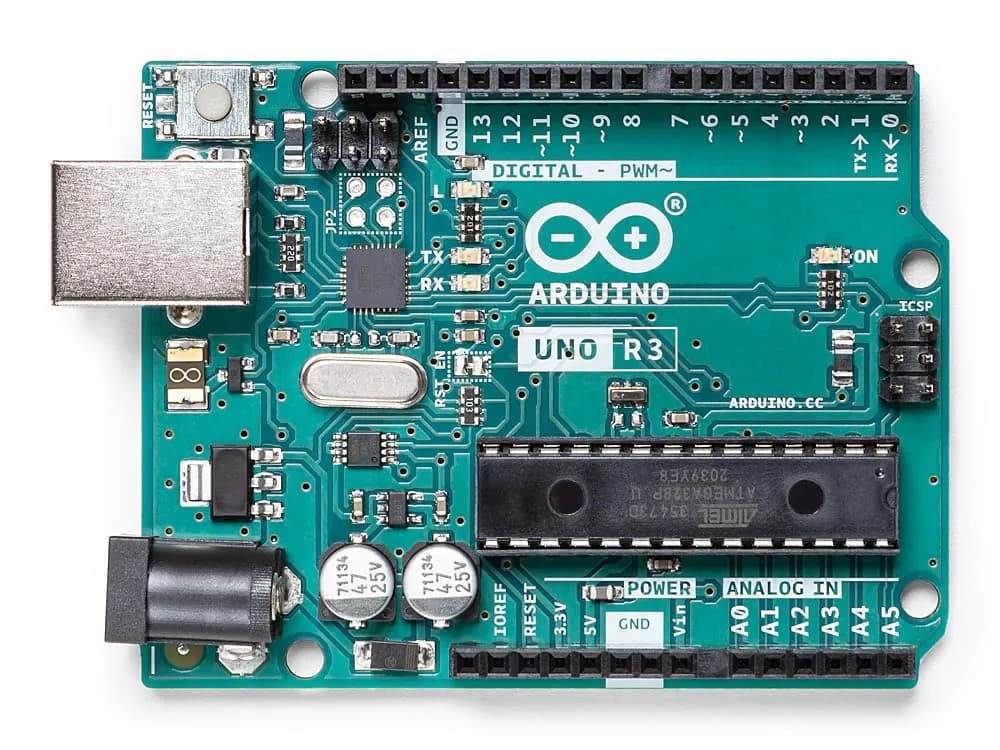
These are the coding lessons from the underwater robotics curriculum I wrote at Allegheny, where I taught Arduino to high school and middle school students as a Technical Leader. The sequence is four sketches, each one small enough to finish in class and each one visibly cooler than the last. That visible progress is the whole trick: kids stay hooked when every lesson ends with something new blinking at them.
The Four Sketch Sequence
- Blink: the built-in LED turns on and off. Hello, hardware.
- Blink 3: three LEDs on pins 13, 12, and 11 take turns. Now pins and wiring matter.
- RGB colors: one RGB LED cycles red, green, blue, white, purple. analogWrite enters the chat.
- The color fade: for loops smoothly fade the RGB LED through the whole spectrum.
The Payoff Sketch
Lesson three is where the magic lands. Three pins, one function, every color they can imagine:
void setColor(int redValue, int greenValue, int blueValue) {
  analogWrite(11, redValue);
  analogWrite(10, greenValue);
  analogWrite(9, blueValue);
}

void loop() {
  setColor(255, 0, 0);   // red
  delay(1000);
  setColor(170, 0, 255); // purple
  delay(1000);
}
Once students realize those three numbers are just a recipe, they start inventing their own colors immediately. Nobody has ever stopped at the colors on the slide.
Where It Leads
In the full course these sketches are the on-ramp to driving an underwater robot: the same pins and wires that blink an LED end up controlling motors through a waterproof tether. Blinking lights are never just blinking lights.